- Applicable Industries:
- Construction works
- Place of Origin:
- Hebei, China
- Brand Name:
- LY-WT
- Power:
- 0
- After-sales Service Provided:
- Online support
- Warranty:
- Unavailable
- Product name:
- FRP water tank
- Material:
- SMC,Galvanized steel,stainless steel
- Volume:
- From 1m3 to 1000m3
- Plate size:
- 0.5*0.5m,1*1m,1.22*1.22m
- Service time:
- More than 20 years
- OEM:
- Yes ,we would provide
- Colors:
- white,blue,and so on
- Application:
- For clean water and drinking water storage
- Materials Technology:
- High tochnological composite materials
- Processing details:
- Punching ,bending,pressingrivet,welding
Packaging & Delivery
- Selling Units:
- Single item
- Single package size:
- 150X150X150 cm
- Single gross weight:
- 5.0 kg
- Package Type:
- GRP modular Panel FRP WATER TANK for SMC Rectangular Water Storage tank is packed with pallet , accessories is packed by wooden carton
- Picture Example:
![package-img]()
![package-img]()
- Lead Time:
Quantity(Piece) 1 - 10 11 - 100 101 - 500 >500 Est. Time(days) 8 10 14 To be negotiated
Fire Fighting GRP/FRP Water Storage Tank

Product Description
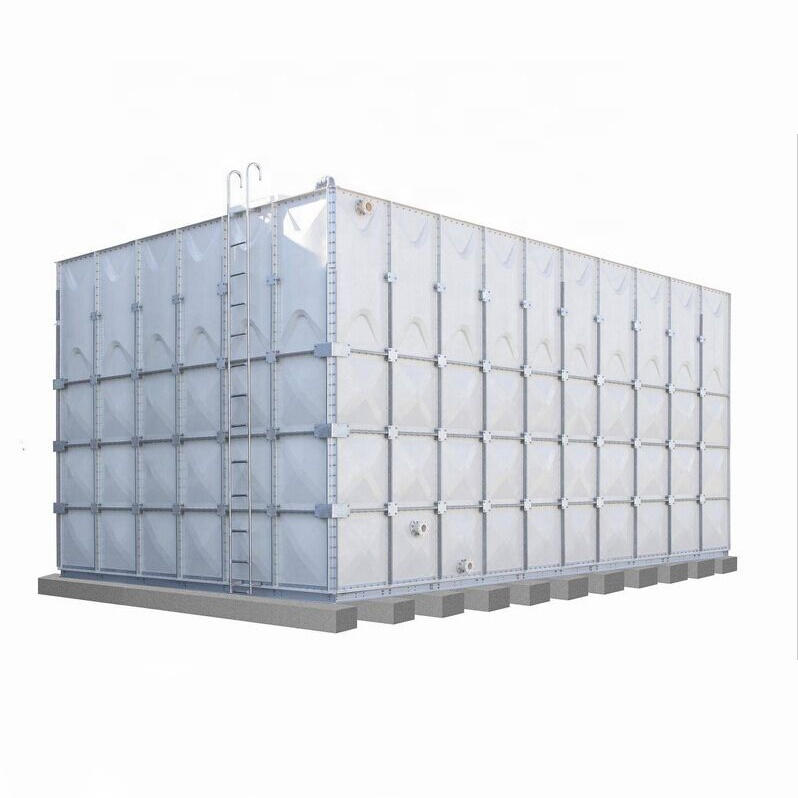
FRP /GRP is the abbreviation of Glassfiber reinforced plastic,GRP water tank can also be called FRP( Fiberglass Reinforced Plastics) water tank, GRP is mainly composed by fiberglass and resin which will directly determine the quality of GRP water tank.
Single panel can be 5 sizes, such as 1500*1000mm, 1500*500mm,1000*1000mm,1000*500mm,500*500mm.

FEATURES OF GRP TANK
1 Super Hygienic
In compliance with WRAS (Water Regulation Advisory Scheme) making with the quality of material which is hygienic passes a taste, a smell and a poisonous etc.5 kind test being a water tank, was verified.
2 Free capacity can be designed
Various sized panels can make the below tanks that utilize the most horizontal and perpendicular space and also can be erected from small capacity tank to huge tank.
Tank capcity can be from 0.25M3 up to a maximum of 10,000M3
3 Safety of Bottom Panel for Water Pressure
The convex panel can be the water pressure created by filling the tank seals the joint preventing leakage.
In other type tanks, water pressure can loosen the joint breaking the seal and allowing the stored water leak out.
4 Prevents Leakage
The joint are sealed with a special sealing tape.
It maintains soft itself and adhesives even at low temperature.
5 Complete Drainage
The convex bottoms with a concave drain panel system make sure complete and fast drainage.

How to correctly use fiberglass tanks?
1. Fiberglass tanks for the storage of drinking water at room temperature and the design and manufacture, please do not store hot water and other liquids (chemicals, oil, etc.)
2. On-site construction: pre-construction, install the stay requested by the foundation. Providing power and construction inspection seal with water.
3. To avoid water tank next to the fire: When welding operations, to take protective measures, not to splash the water tank panels Mars.
4. To prevent contaminants from flowing into the tank from the outside: for the convenience and safety of maintenance and inspection, the tank must leave some space around.
5. The molded fiberglass boards do not touch on the corners, do not beat something with hard tools.
6. In order to prevent expansion of the pipe, shrinkage, partial load and shock, glass steel water tank, outlet pipe must be of rubber around the streets (expansion joints), to take over the additional weight should be supported, not acting on the tank.

APPLICTION
1) Potable Water Storage (drinking water)
2) Rainwater Harvesting & Storage
3) Emergency Water Storage
4) Pump Chambers
5) Effluent/Acid and alkali solution treatment & Storage
6)hospital,buildings,building site, school and other place

INSTALLATION
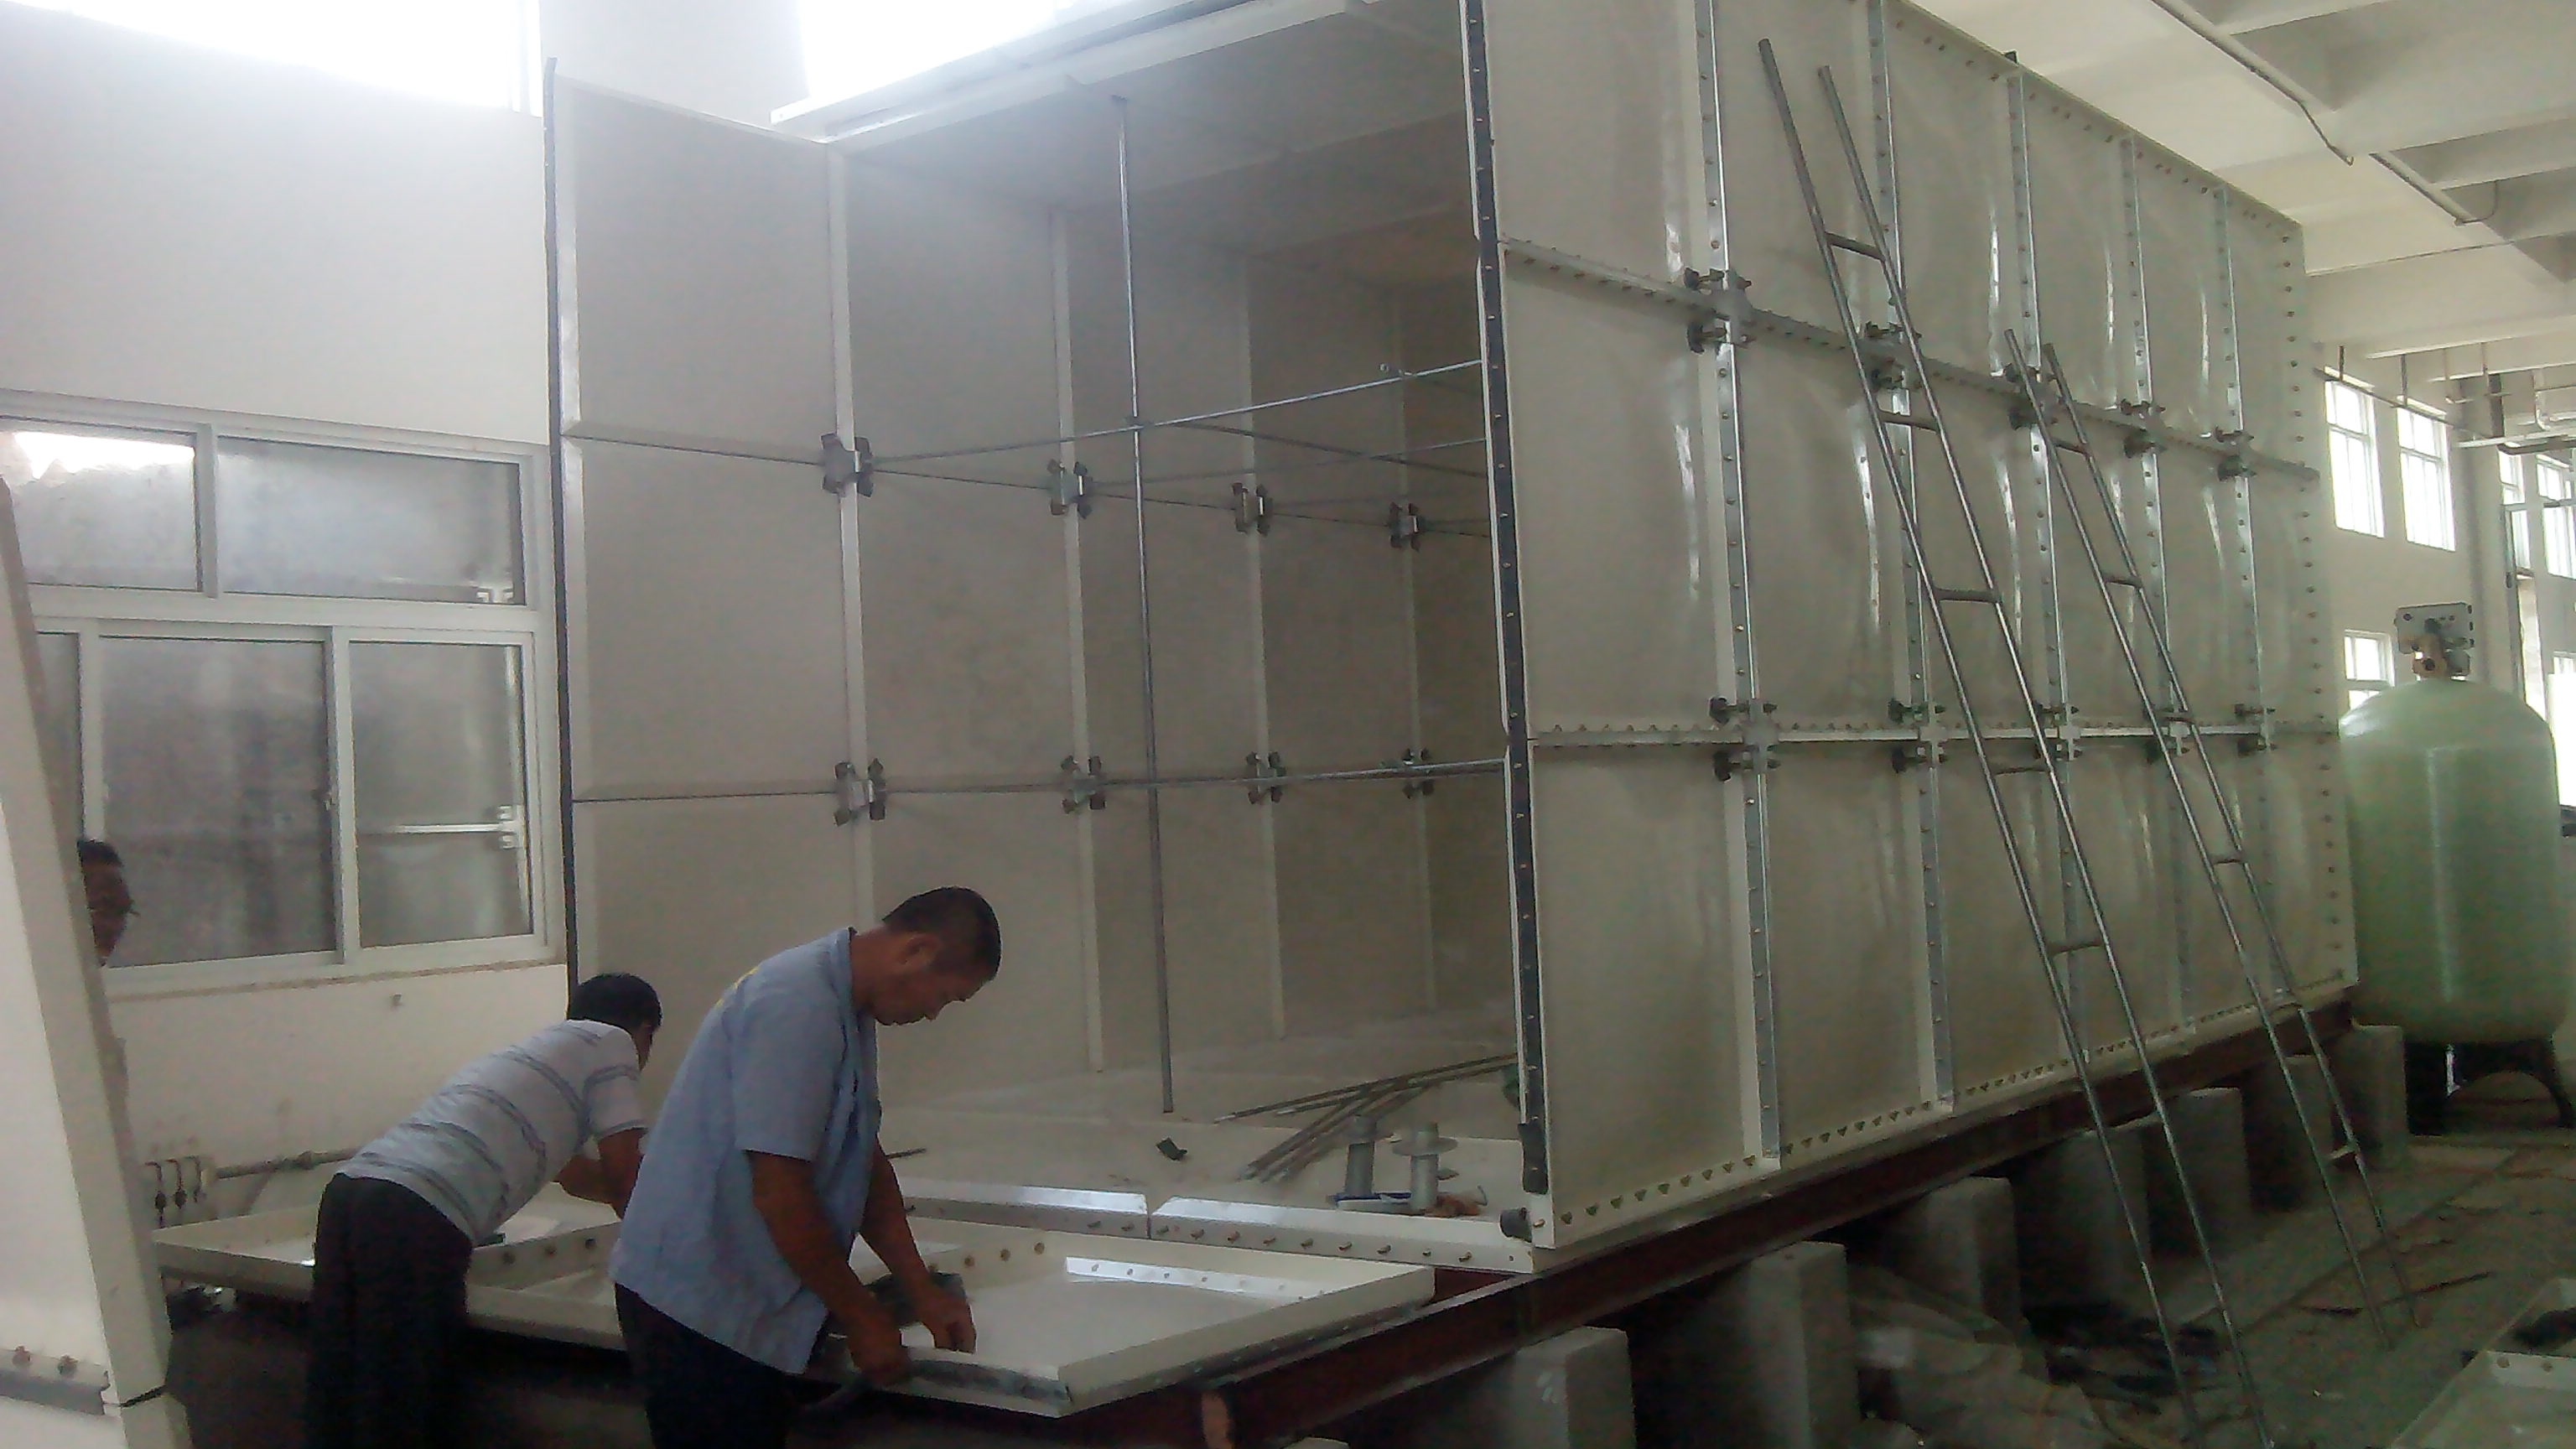
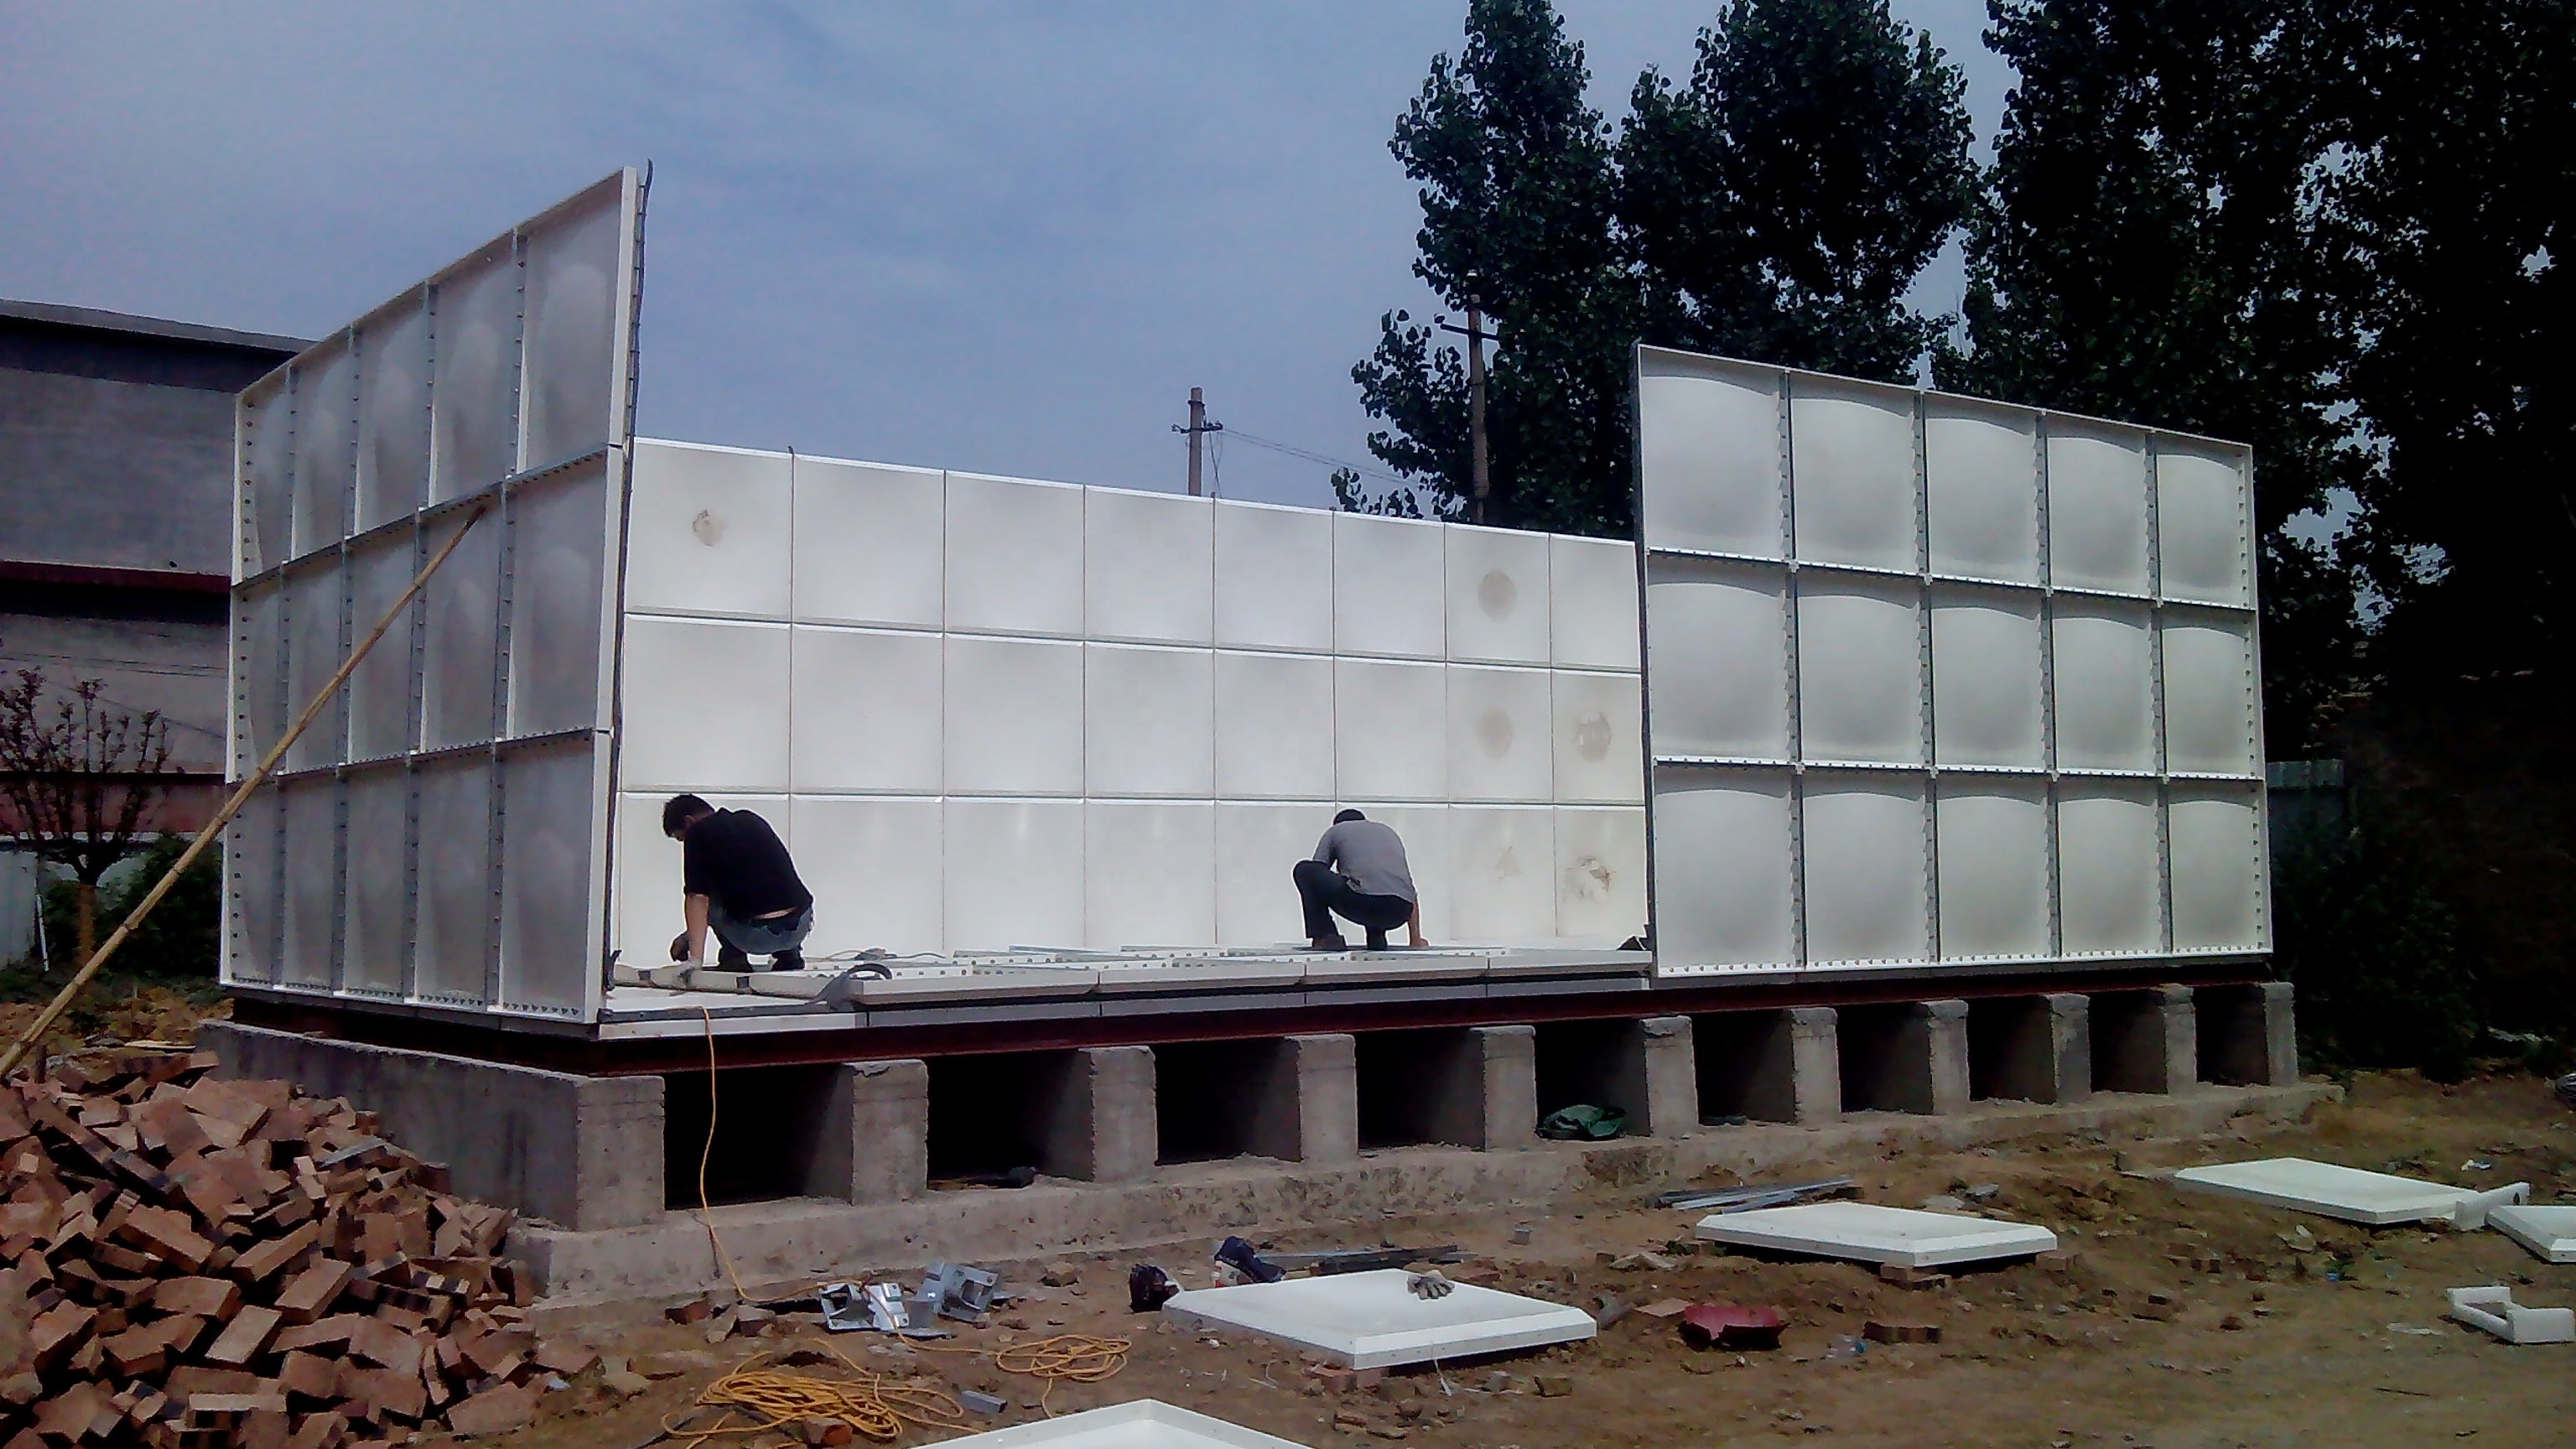
Step 1. Install steel footings on leveled concrete foundations.
Step 2. Align GRP panels to be pre-assembled.
Step 3. Place rubber sealant from ready-to-use roll between panels.
Step 4. Connect panels with bolts and nuts.
Step 5. Position bottom panel sections, and finish up base of tank.
Step 6. Position three sides of the tank.
Step 7. Position and fix roof panels and if required, roof support pipes and plates.
Step 8. Install reinforcement if required.
Step 9. Close up the tank with the fourth side.
Step 10. Finish the internal or external reinforcement.
Step 11. Fill and test.


