As OSB dedicates her attention to Inverter ground source heat pump product5ion, today let’s get to know a little about ground source heat pump installation.
Step 1: Specification and Planning
There are several challenges that can make or break your energy efficiency ambitions with a ground source heat pump installation, one of the main ones being planning and preparation. Perhaps the most important first step in the design of a ground source heat pump then, is to have an installer visit your home and appraise exactly what type of heat pump, energy supply source, and energy distribution would be the best fit.
This will be based on their assessment of your building and land, whether or not you have a well, and whether or not that well has enough flow to support an open loop system. They will also evaluate your site in terms of the geology and hydrology of the soil in your land.
Next, they will likely move indoors to investigate your domestic hot water requirements, existing exchanger and heating systems, and current level of insulation in the home. Only after gathering all this information, would your installer be able to draw up a building heat load analysis and plan a well-designed ground source heat pump system for your home.
Step 2: Groundwork and Pipework Installation
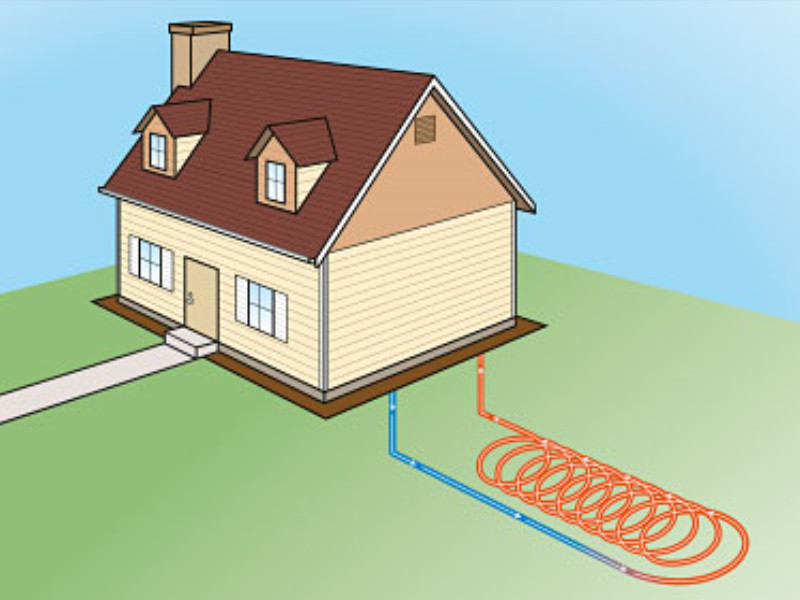
The second step of a ground source heat pump installation is the excavation of loop fields so that pipes can buried in the soil, which on average takes about one to two days. This is followed by pipe installations, which are later filled with a mixture of water and antifreeze solution that acts as a heat exchanger.
HORIZONTAL LOOP SYSTEMS
A key consideration in installing a ground source heat pump is the location and design of the loop. Horizontal loop systems are generally the most cost-efficient and involve the excavation of shallow trenches in which polyethylene pipes can be laid at depths of between 1m to 2m. Although horizontal installations are cheaper, they do require a minimum of ½ an acre of land.
VERTICAL LOOP SYSTEM
In cases where space is limited, an alternative to horizontal loop systems are vertical loop systems. Here, boreholes are dug using drilling rigs to depths of anywhere between 15m and 122m where pipes are then buried into them. These systems tend to be a little pricier to implement, but since ground temperatures are more stable the deeper the loop is located, the heat collection efficiency is also considerably higher.
Step 3: Heat Distribution Infrastructure
Once all the pipes are laid, connected and tested, your contractor will begin working on modifying the ductwork and, if necessary, replace your old heat distribution infrastructure with a newer one. Ideally, this will be underfloor heating as this usually works best in conjunction with ground source heat pumps. For a one-man team, this can take up to three to four days to complete.
Step 4: Heat Pump Installation
Once the heat pump has been put in place, your contractor will connect it to the ductwork, the ground loop, and possibly the new in-floor heating system. Upon firing up the heat pump for the first time, be sure to observe the following: water flow from the ground exchange loop, air temperatures, and amp draw on the heat pump.
Step 5: Maintenance
The good news is that because ground source heat pumps have very few moving parts, usually very little can go wrong. Having said that, geothermal heat pumps often do require seasonal adjustments in order to ensure they operate as efficiently as possible during both heating and cooling periods.
Welcome to contact us to discuss the installation for your new OSB inverter ground source heat pump !

