Brand: |
none |
Address: |
China |
Min.Order: |
none |
Supply: |
none |
Valid until: |
Long Term |
Product Details
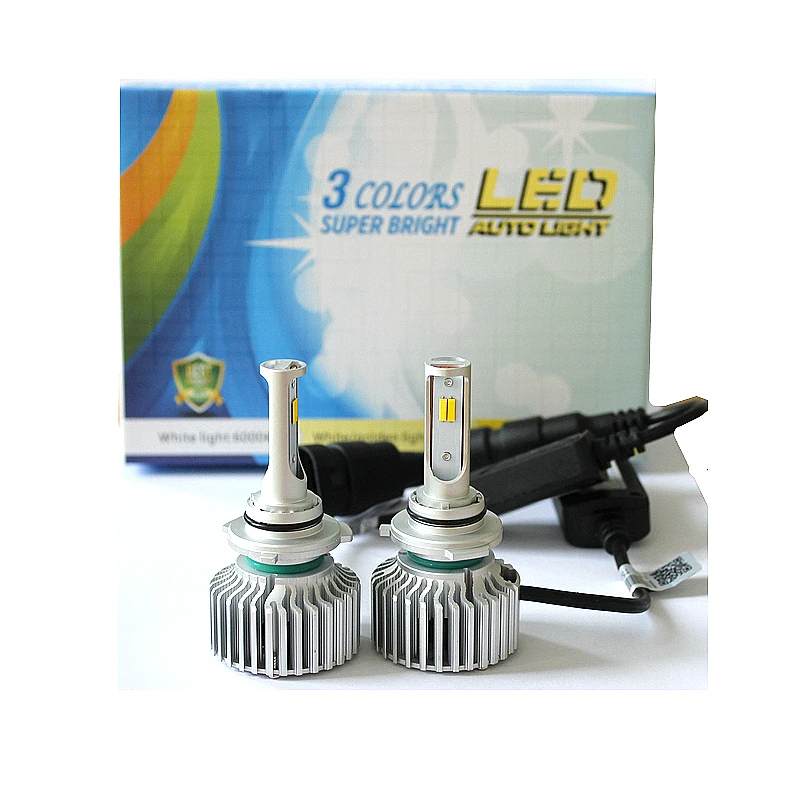
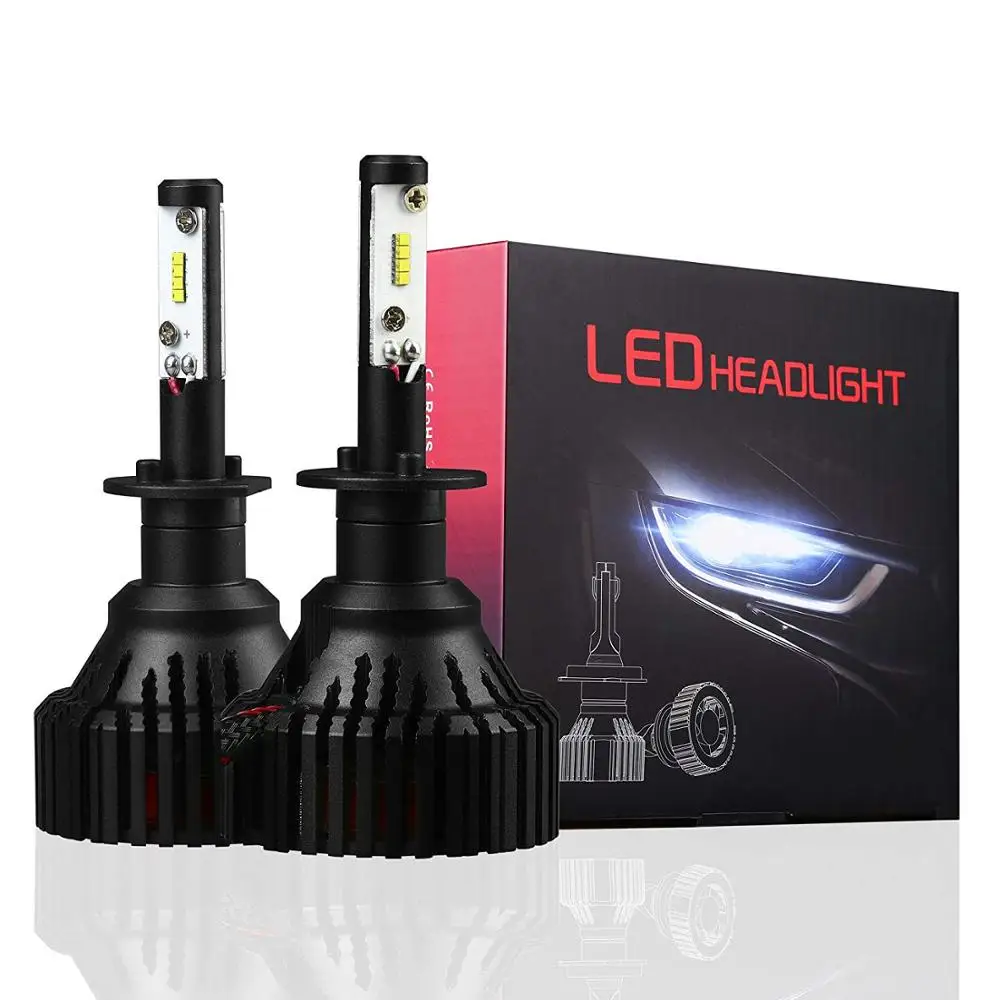
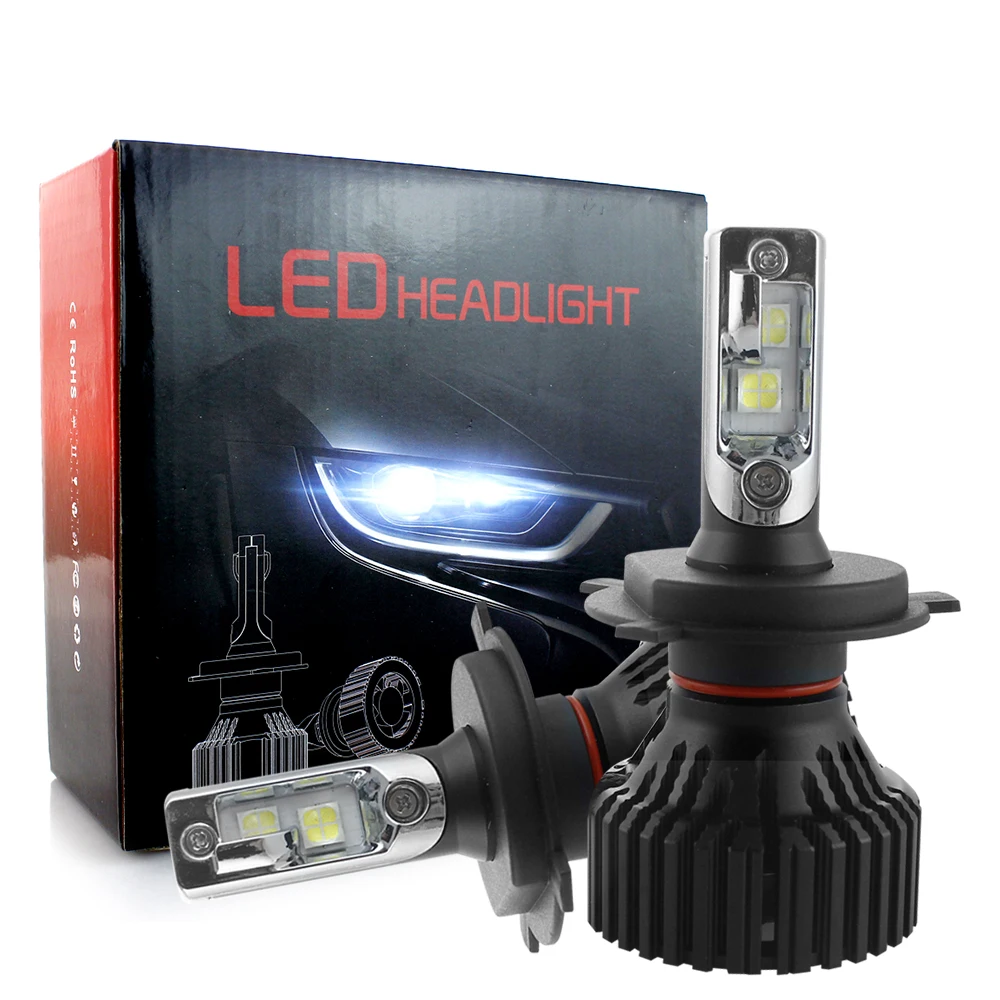
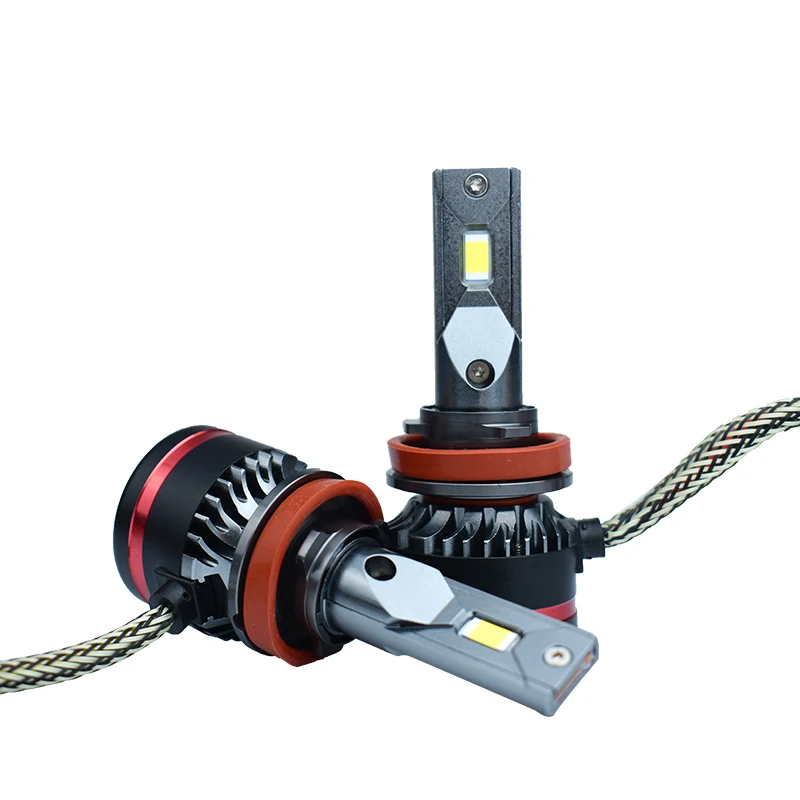
Led Headlight Bulbs Autozone H1 H3 H7 H4 H11 9005 9006 30W 4000LM Led HID Headlight Bulb T5 Three Colors Led Headlight
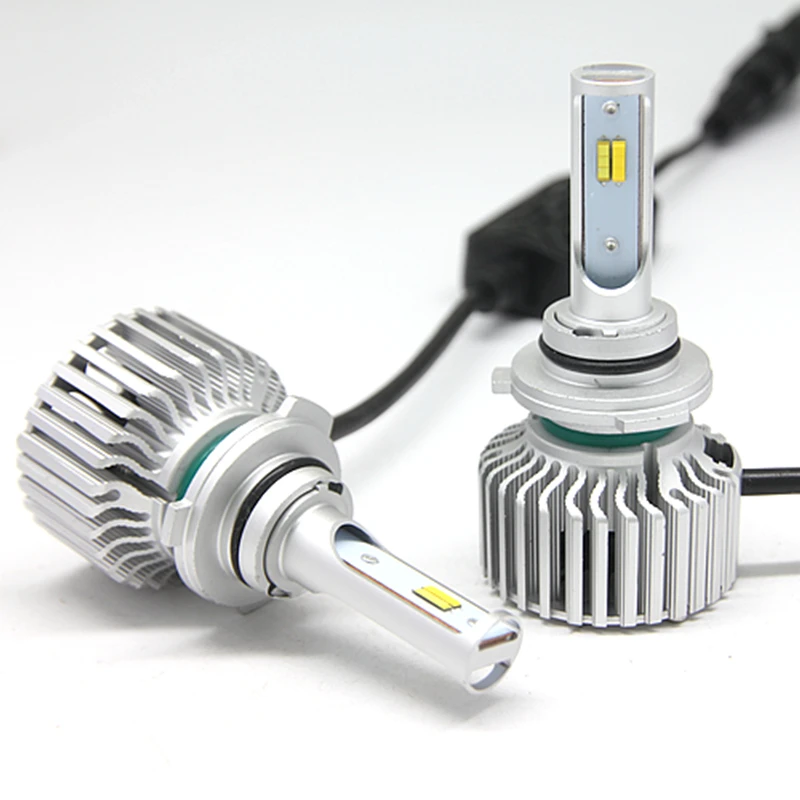
Parameters of T5 9005 Led Headlight
| Product Name | T5 9005 Led Headlight |
| Power | 40W±10%/bulb |
| Lumens | 8000LM / set |
| Voltage | DC 9V - 36V |
| Led Chips | CSP Led Chip |
| Chips | 6 Pcs / Side |
| Beam angle | 360 ° |
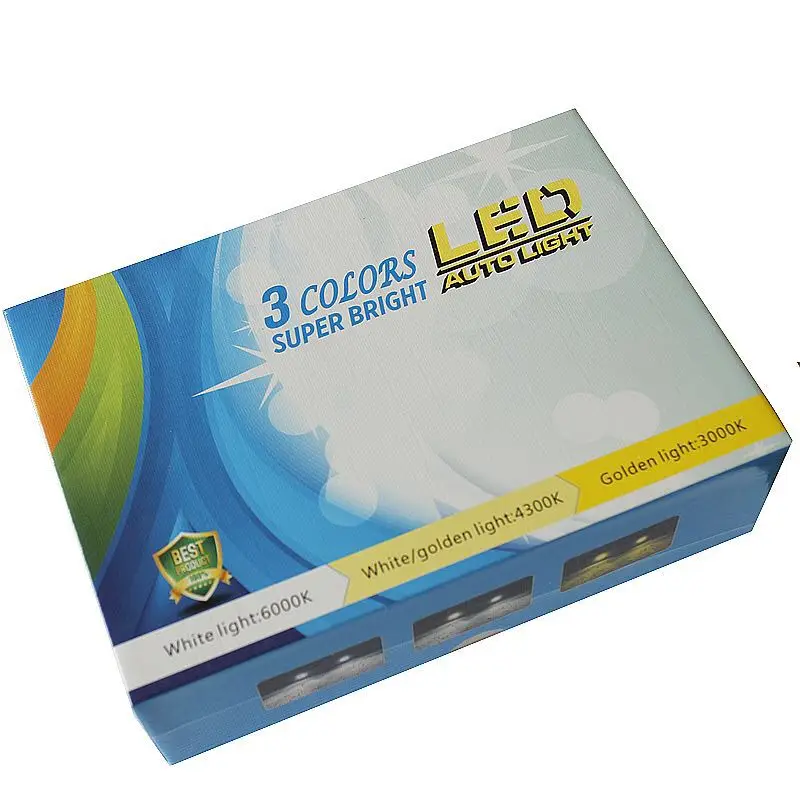
| Color Temperature | 3000K, 4300K, 6000K |
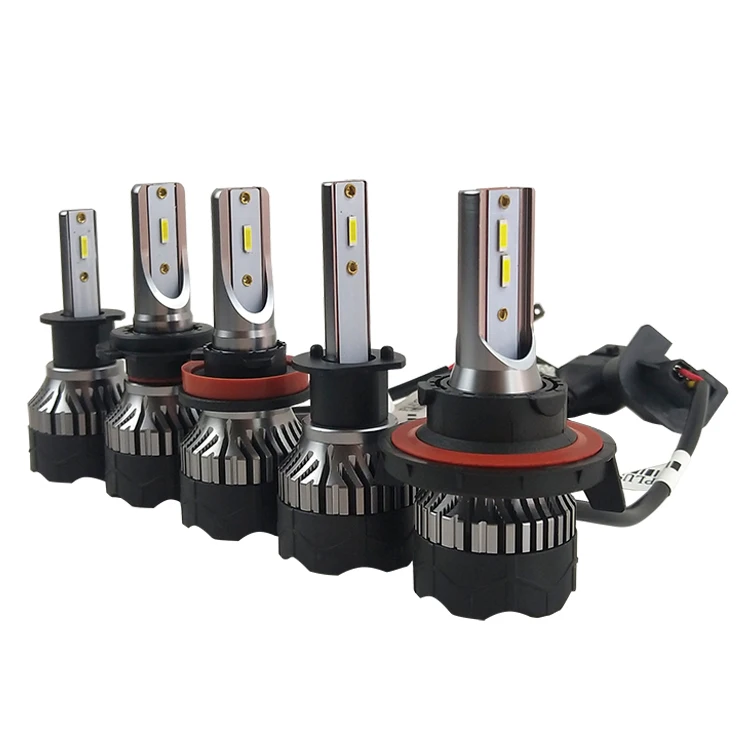
| Available models | Hi/ lo beam: H4, H13, 9004, 9007 Single beam: H1, H3, H7, H8, H9, H10, H11 |
| Warranty | 12 Months |
Advantage of T5 Led Headlight
1.Intelligent control of 3 colors changing, different colors and functions can be freely switched to meet all kinds of weather needs.
Function 1: White light 6000K
Function 2: Golden light 3000K
Function 3: White and Golden light 4300K
Function 4: Flowing light 6000K+3000K
Function 5: Fast flashing 6000K+3000K
2.Super MINI size, fit for 95% cars.
3.All in one fan, excellent heat dissipation and high efficiency.
4.CSP 3570 auto level LED seamless chips, 20% higher brightness.
5.Copper board with patent LED drive IC, constant output power, no light wane.
6.Adopting boost circuit, low current, high efficiency, low heat.
7.Built-in CANBUS, super decoding, compatible with DRL.
8.360°adjustable socket to ensure the best lighting effect.
Pictures of T5 9005 Led Headlight


Installation of T5 Led Headlight
1. Take down the original halogen lamp or HID lamp or LED lamp.
2. Install the corresponding bulb holder and press it tight.
3. Insert the our LED Lamp body to the corresponding holder(push it tight too), turn it to right to reach the right position.
4. Assemble the inverter and power line.
5. Finally just plug and play!



 Share
Share












Customer Reviews total 0 items