


 Share
Share


Office
Brand: |
none |
Address: |
Guangdong Zhongshan |
Min.Order: |
none |
Supply: |
none |
Valid until: |
Long Term |
Product Details
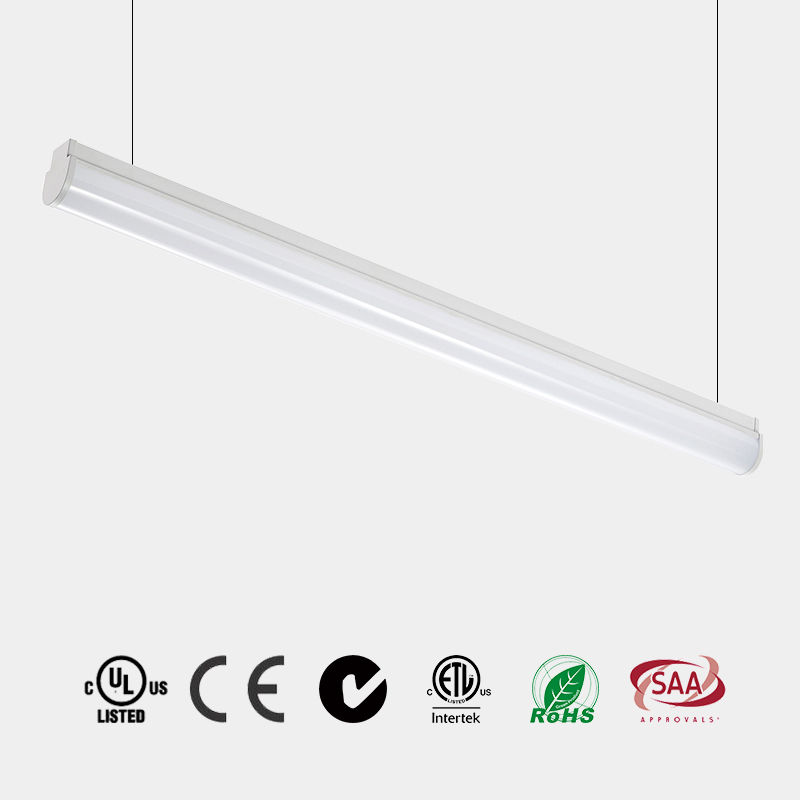
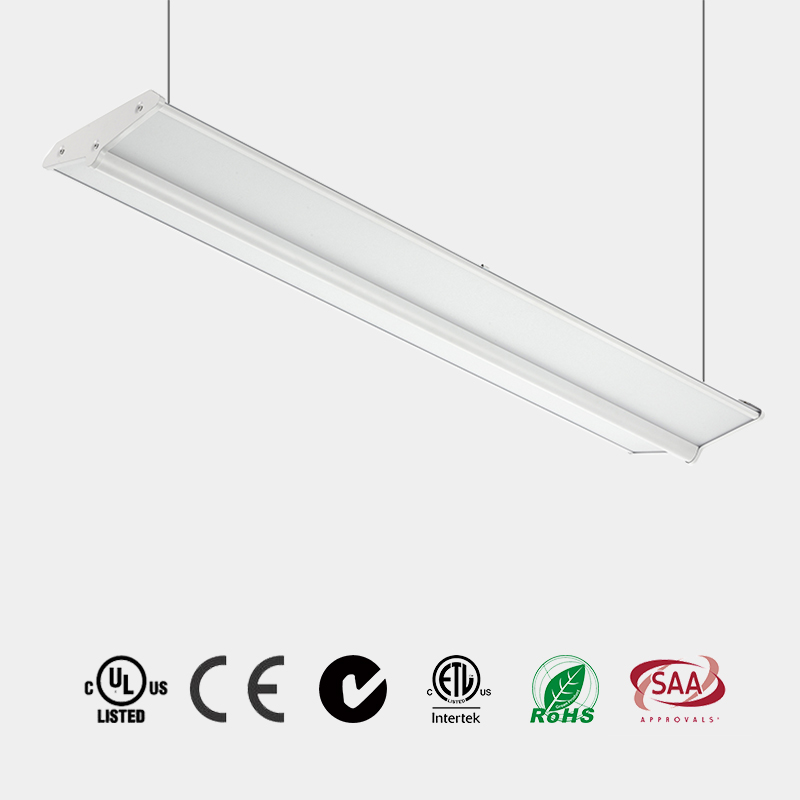
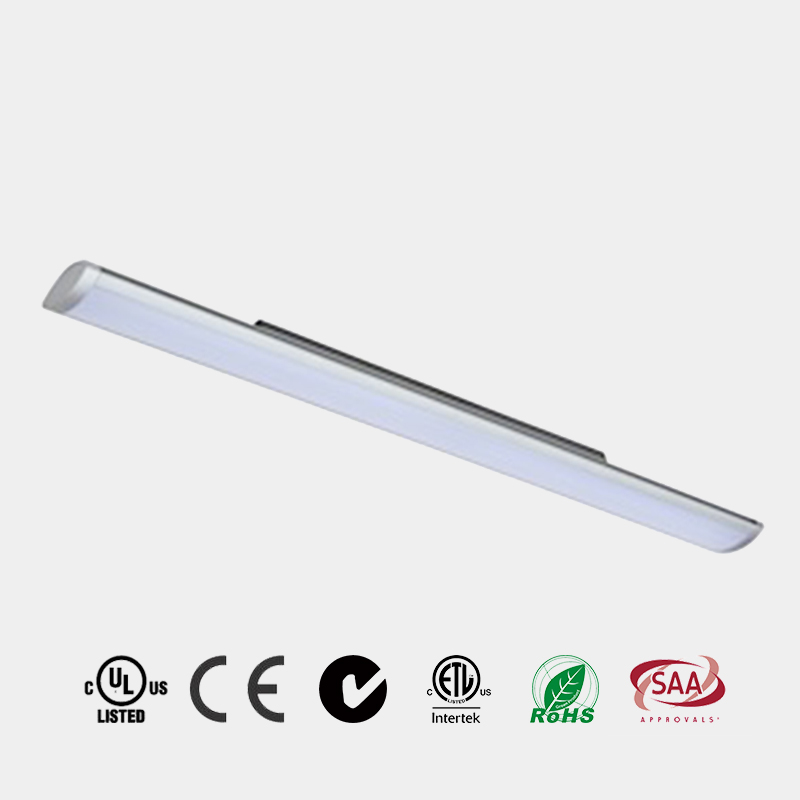
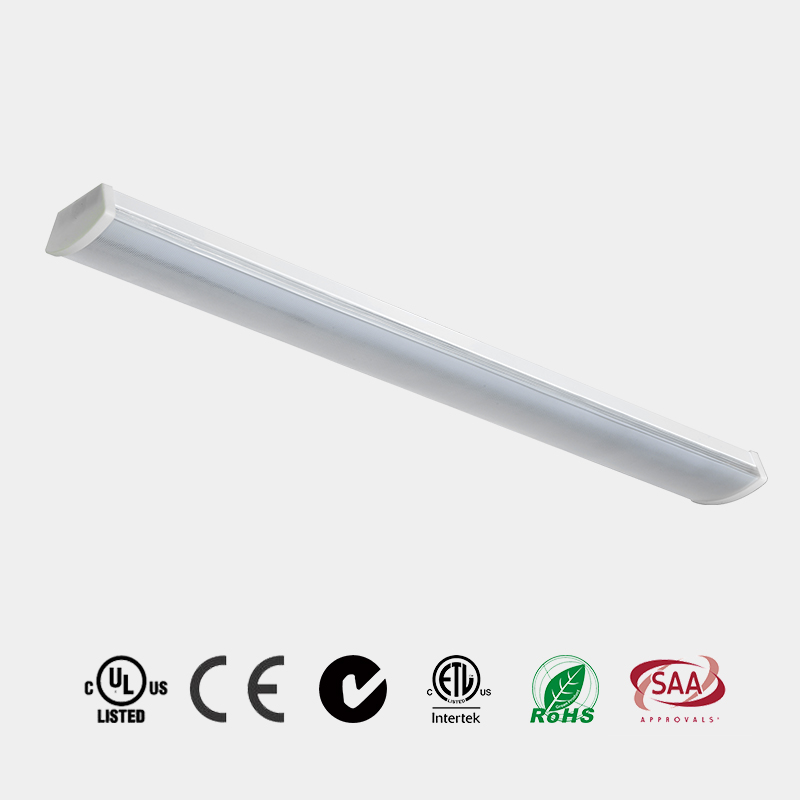
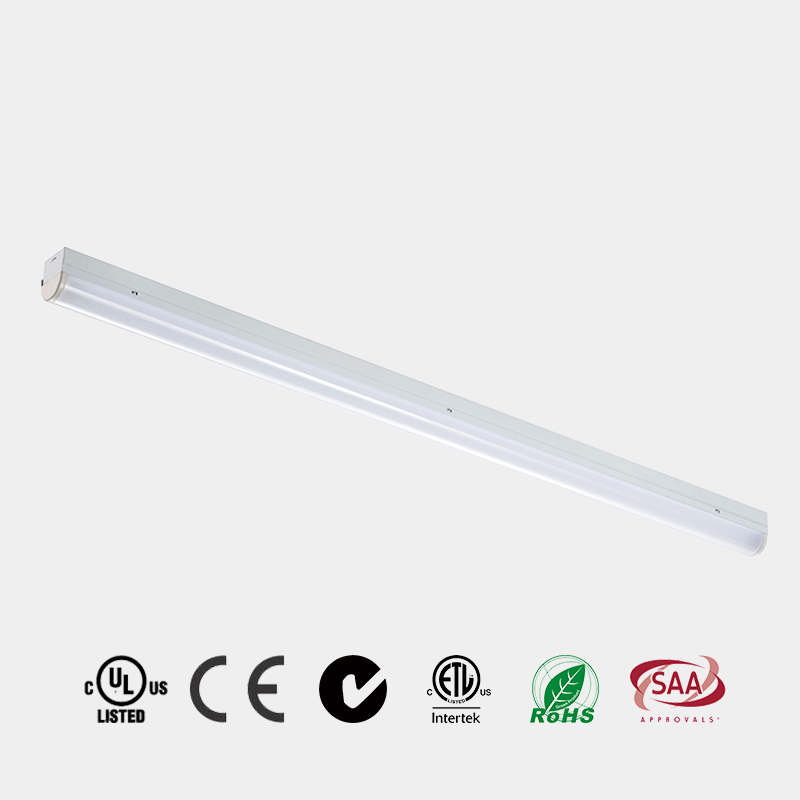
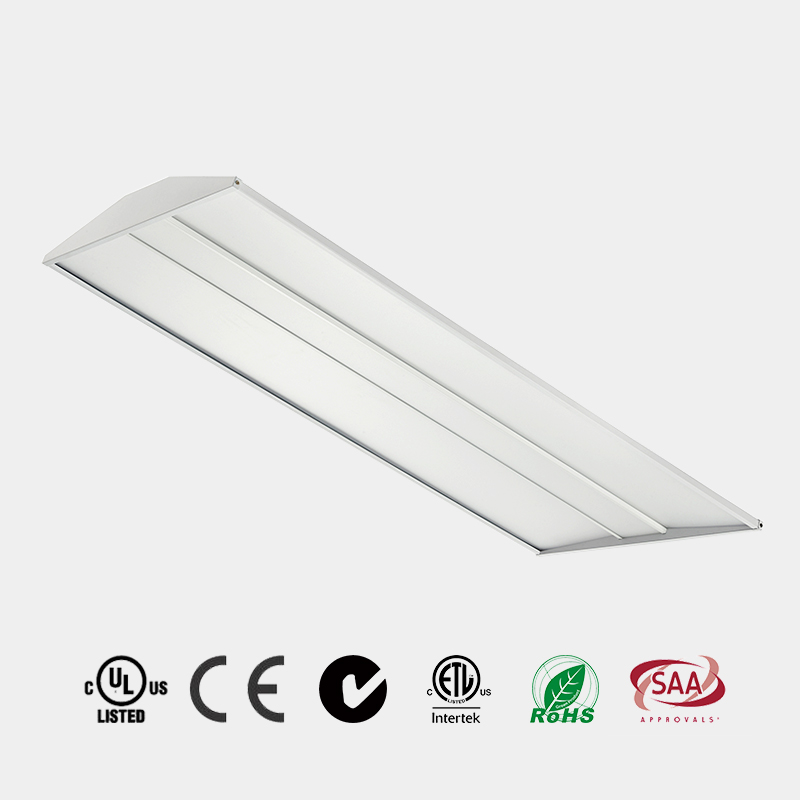
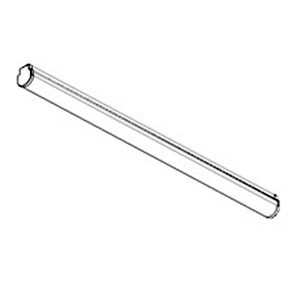
■ SPECIFICATION
Housing:0.5mm steel sheet with white powder coated.
Diffuser: extruded opal PC material with UV protection.
Led Plate: 0.4mm steel sheet with white powder coated
The special optical design achieves high efficacy, and even more energy can be saved thanks to control options
including presence/absence detection and daylight dimming
■ ACCESSORY
Fixture can be equipped with an occupancy sensor.
Devices are factory-installed and require minimal labor to set up during fixture installation.■ DIMMING
Drivers come standard with 1-10V dimming leads capable of variable dimming down to 10%.■ SURFACE
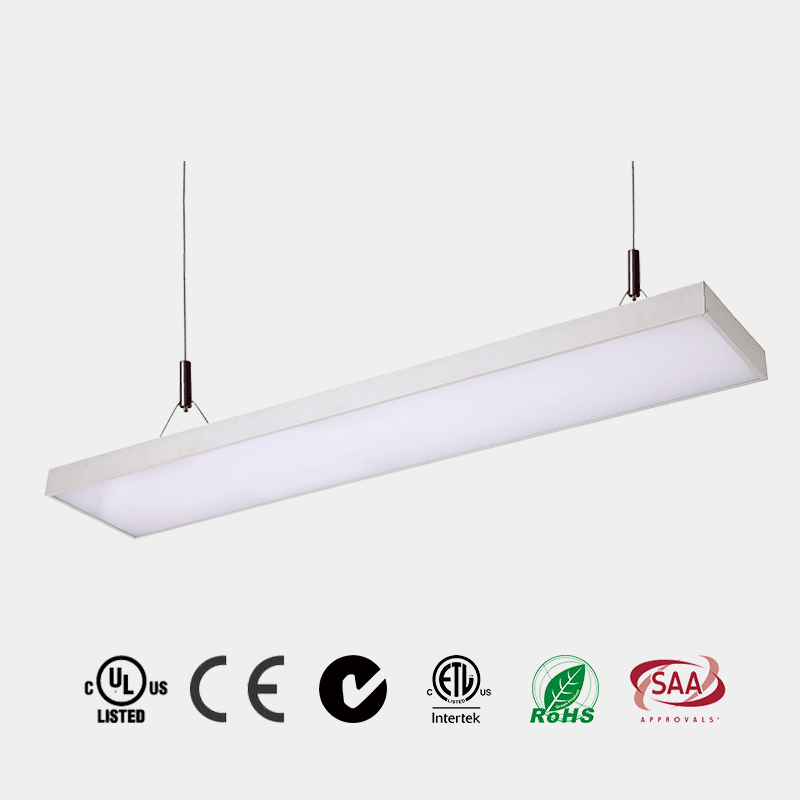
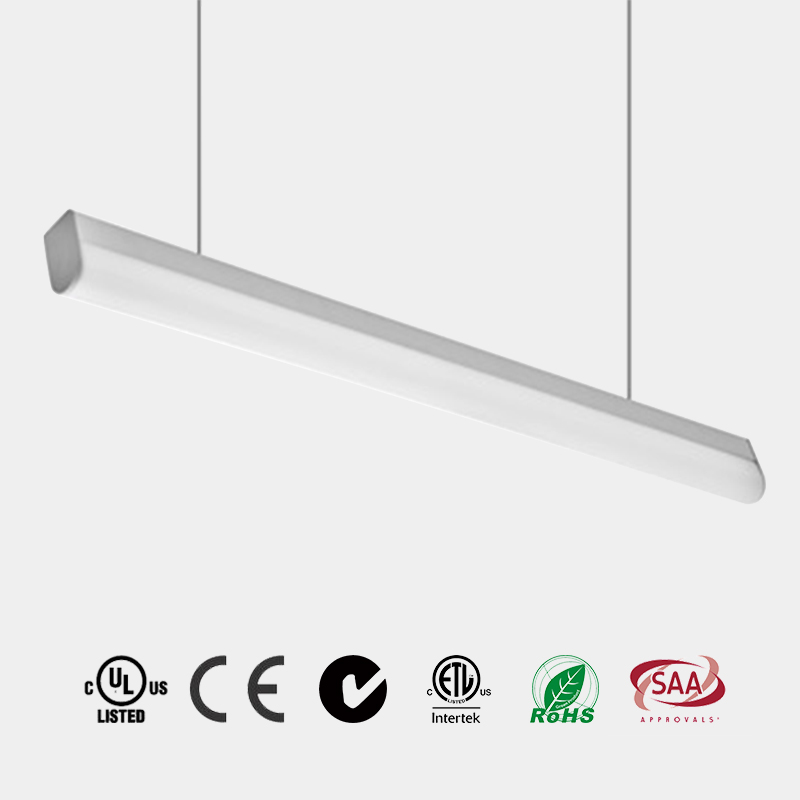
Standard fixture is white color, it is able for black color.
CHARACTERS
◪ ETL & DLC listed; With LM79 & LM80;
◪ 2ft:18W,25W; 4ft: 24W,36W
◪ High luminous efficacy 120 LM/W;
◪ 50,000 hours warranty 120-277V/60Hz,220-240V/50Hz 0-10V UL/CUL listed LED Driver, Flicking free.
◪ PF>0.90
◪ driver efficiency>87%;THD<20%;
◪ Installation: Suspended,Flush mount.
◪ Suitablefor dry/damp location;
◪ Designed for office/ architectrual/ school/ display centres
◪ CCT: 4000K & 5000K;
◪ Lifetime: 5 years
LAMP SIZE

| Model No | A | A | B | C |
| P1804-18W/2ft | 22.44" | 2.61" | 3.48" | |
| P1804-25W/2ft | 22.44" | 2.61" | 3.48" | |
| P1804-24W/4ft | 46.06" | 2.61" | 3.48" | |
| P1804-36W/4ft | 46.06" | 2.61" | 3.48" |
Technical data

| Total Input Watt | 18W | 25W | 24W | 36W |
| SMD LED Chips Brand | 2ft | 2ft | 4ft | 4ft |
| Calculated L70 | 50,000hrs | |||
| Delivered Lumens | 1980 lm | 2750 lm | 2640 lm | 3960 lm |
| Luminaire Efficacy Rating | 110 LM/W | |||
| Correlated Color Temperature | 3000K,4000K,5000K | |||
| Color Rendering Index | >80 | |||
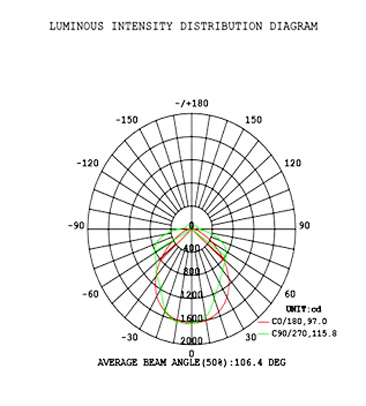
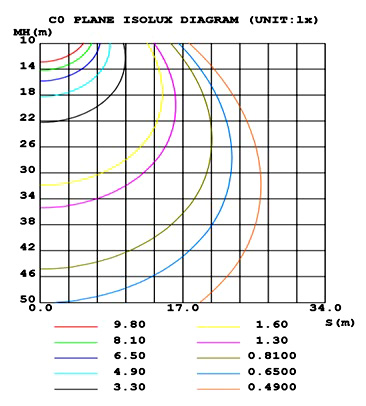
Light distribution
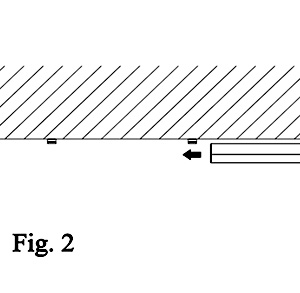
Installation
INSTALLATION FOR HANGING
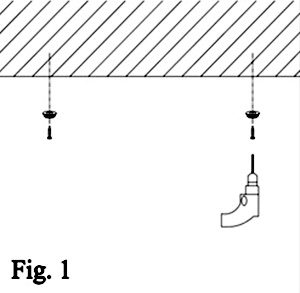
1-Fix the cooper nut into the ceiling by screw
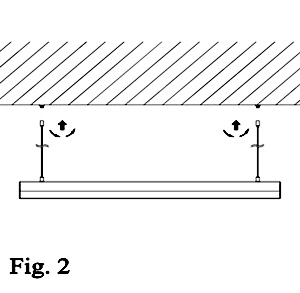
2-lock the stainess wire into the cooper nut.
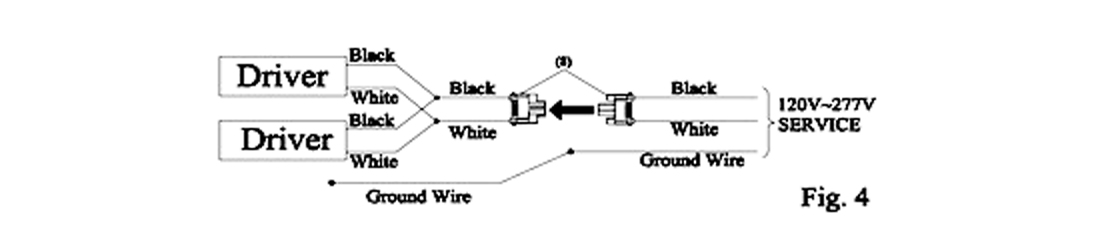
3-Turn off the power,make the wire connection to the quick connector
INSTALLATION FOR CEILING-MOUNTED
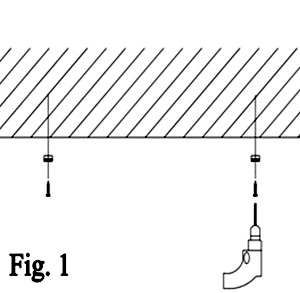
1-Fix the mounting holes into the ceiling by screw
2-lock the stainess bracket into the holes.

3-Snap in the lights into the mounting bracket
Warning
1
1
The installation and maintenance must be completed by electricians or professionals.
1
1
Please cut off the power before installation and maintenance.
1
1
The thermally insulating material is not allowed to cover the fixture.
1
1
Pleasekeepawayfromthecorrosivesubstance,andkeepthefixturedryandclean.
1
1
Applications
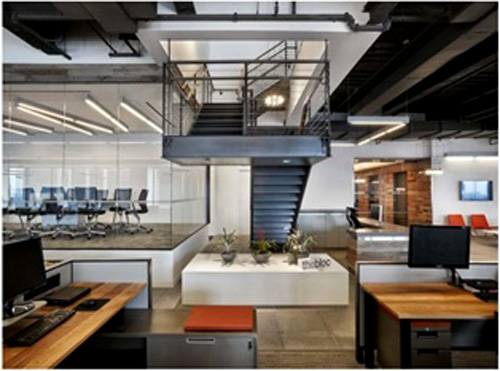

Conference Room
Customer Reviews total 0 items